Table of Contents (15 sections)
- Introduction to DIY Fashion
- Gather Your Materials
- Step-by-Step Guide to DIY Fashion
- Step 1: Choose Your Clothing Canvas
- Step 2: Select Inspiration Sources
- Step 3: Basic Cutting Techniques
- Step 4: Dying and Bleaching
- Step 5: Adding Decorative Elements
- Step 6: Sewing and Stitching Basics
- Comparative Analysis of DIY Techniques
- Statistics and Trends in DIY Fashion
- FAQ
- Glossary
- Checklist Before You Start
Introduction to DIY Fashion
DIY fashion is all about personalization and creativity, allowing you to create unique styles that represent your personality. According to Forbes, the rise in sustainable fashion has made DIY approaches more popular, as people look for eco-friendly options to reduce waste. Fashion is ever-evolving, and being able to customize your clothing offers a sense of empowerment and individuality. Whether you're altering a thrift store find or updating an outdated garment, DIY fashion provides endless possibilities for creativity.
Gather Your Materials
Before diving into DIY fashion, gathering the right materials will set you up for success. Basic tools include fabric scissors, measuring tape, a sewing machine, needles, and various threads. Joann Fabrics suggests having a beginner's kit on hand to start. Additionally, look for fabric paints, dyes, and patches to provide enhanced customization options. It's essential to source sustainable materials whenever possible, ensuring that your fashion impact is positive on both a personal and environmental level.
Step-by-Step Guide to DIY Fashion
Step 1: Choose Your Clothing Canvas
Choosing the right canvas is crucial. Start with clothing pieces that have strong, durable material. Cotton, denim, and linen are excellent choices. Review the garment for any damage, and avoid delicate fabrics that might be hard to alter. A sturdy fabric ensures longevity after alterations and can withstand various embellishments.
Step 2: Select Inspiration Sources
Draw inspiration from fashion magazines, Pinterest, and social media. Look for trending styles and adapt them to suit your personal taste. Instagram is a great platform for discovering unique styles and DIY ideas. Remember to gather various ideas, but make sure to keep your personal style at the forefront as you adapt these inspirations.
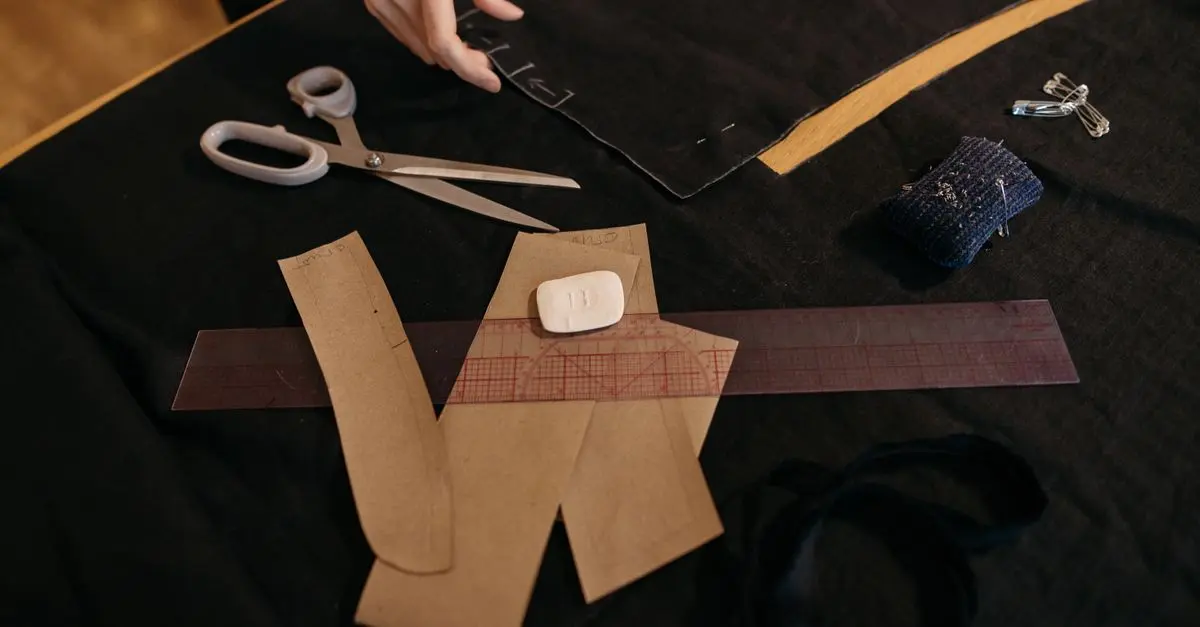
Step 3: Basic Cutting Techniques
Understanding basic cutting techniques ensures precision. Always measure twice and cut once to avoid mistakes. Use fabric chalk to mark cutting lines. Craftsy recommends practicing on fabric scraps to perfect your technique. Cutting with precision avoids material waste and allows you to experiment with different designs without damaging the principal fabric.
Step 4: Dying and Bleaching
Using dyes and bleaches is a great way to transform a garment. Rich colors offer substantial changes, while bleaching can add patterns and lighter hues. Test these methods on sample cloths. Ensure you're using safe products that won't damage the fabric or cause skin irritation according to Consumer Reports.
Step 5: Adding Decorative Elements
Decorative additions such as patches, embroidery, and sequins can dramatically alter a garment's aesthetics. Etsy is an excellent place to find unique decorations that suit your style. When attaching these elements, use appropriate needles and follow proper techniques to ensure they remain attached even after washes.
Step 6: Sewing and Stitching Basics
Learning sewing and stitching techniques is pivotal. From hems to decorative stitches, these skills can refine your projects. The Sewing Institute offers tutorials for beginners. Use a sewing machine for clean and strong stitches. Hand sewing may be suitable for fine details or if you're new to DIY fashion.
Comparative Analysis of DIY Techniques
| Feature | Dyeing | Bleaching | Embroidery | Sewing Techniques |
|---|---|---|---|---|
| Ease | Moderate | Easy | Difficult | Moderate |
| Tools Needed | Dye, Gloves | Bleach, Gloves | Needles, Thread | Sewing Machine |
| Impact | Significant | Moderate | Highly Personal | Versatile |
| Verdict | High Change | Trending Style | Time Consuming | Essential Skill |
Statistics and Trends in DIY Fashion
DIY fashion appeals to a broad audience, with over 60% of consumers aged 18-35 participating in at least one DIY project annually, as reported by Statista. The movement toward sustainable practices has fueled this interest, with DIY fashion reportedly reducing clothing waste by up to 30%, according to Greenpeace.
- What are the best tools for beginners in DIY fashion?
For beginners, a basic sewing kit including scissors, needles, thread, and a sewing machine is essential, as suggested by Joann Fabrics.
- Can I dye polyester clothing in DIY projects?
Polyester requires specific dyes like disperse dyes for effective coloration, according to Design Textile.
- How can I ensure the longevity of my DIY projects?
Proper maintenance, which includes gentle washing and air drying, can preserve custom designs longer.
- What is the easiest DIY project for a novice?
Simple alterations, like hemming a skirt or adding patches, are recommended for beginners to build confidence.
Glossary
| Terme | Définition |
|---|---|
| Upcycling | Transforming old clothes into something new and stylish. |
| Bleach | A chemical used to whiten or lighten fabrics. |
| Pattern | A repeated decorative design applied to fabric. |
Checklist Before You Start
- [ ] Verify the durability of the fabric
- [ ] Organize all DIY materials
- [ ] Measure and chalk the garment accurately
- [ ] Test dyes on fabric samples
- [ ] Practice cutting techniques on spare fabric
📺 For further exploration: Explore “DIY Clothing Hacks” for comprehensive video tutorials on YouTube by searching: 'DIY clothing hacks'.
🧠 Quick Quiz: [What fabric is recommended for beginners in DIY fashion?]
- A) Silk
- B) Cotton
- C) Polyester
Réponse: B — Cotton is durable and easy to work with for beginners.